
Planting
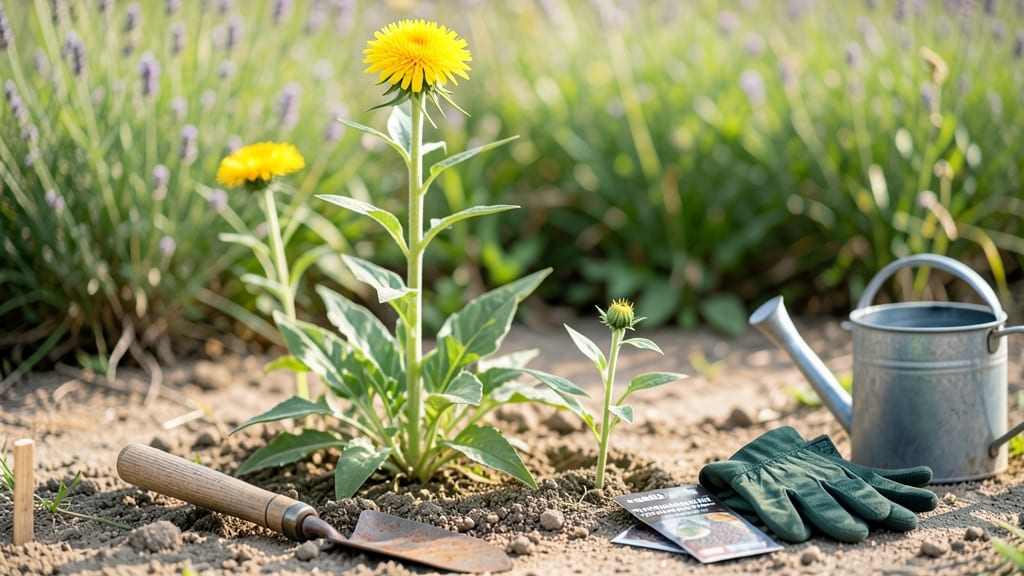
To plant safflower 🌼 successfully, you don’t need fancy tools—just the right timing and a few simple tricks. This cheerful annual thrives when sown directly in spring, but getting the depth and spacing just right is what separates a patchy garden from a lush, productive stand.
I’ve learned the hard way that planting safflower seeds too shallow can leave them vulnerable to drying out, while burying them too deep delays germination. The ½-inch depth is your sweet spot, paired with 12-18 inches between plants for optimal airflow and growth.
Trust me, this small adjustment makes all the difference when those vibrant blooms start popping up.
Beyond depth, safflower loves full sun and well-drained soil—think of it as the low-maintenance superstar of your garden. Whether you’re growing it for its striking flowers, edible seeds, or even bird-friendly habitat, mastering these basics sets you up for a strong start and a bountiful harvest by summer’s end.
Ready to skip the guesswork? Let’s break down the exact steps—from soil prep to spacing—to ensure your safflower seeds sprout confidently and grow into healthy, thriving plants. No more second-guessing, just results.

Optimal safflower planting depths and spacing for maximum yield
Getting your safflower seeds planted at the right depth and spacing is the foundation for a bountiful harvest. Unlike some delicate annuals, safflowers thrive with minimal fuss but demand precise placement to prevent overcrowding and ensure strong root development.
I’ve learned from years of trials that even small adjustments—like planting just ¼ inch too deep—can delay germination by weeks, especially in cooler climates.
The key to success lies in balancing seed depth, row spacing, and plant-to-plant distance while accounting for your local USDA zone and soil temperature. For example, in Zone 5, where springs are slow to warm, I adjust my timing and spacing to compensate for cooler soils.
Let’s break down the exact measurements that work for direct sowing and how to adapt them for your region.
| Requirement | Specification | Notes |
|---|---|---|
| Seed Depth | ½ inch (1.25 cm) | Deeper planting risks rot; shallower may dry out. |
| Row Spacing | 18–24 inches (45–60 cm) | Wider rows improve airflow; narrower for small gardens. |
| Plant-to-Plant Distance | 12–18 inches (30–45 cm) | Closer spacing works for birdseed varieties; wider for oil types. |
| Soil Temperature | 60–70°F (15–21°C) | Use a soil thermometer; wait until soil warms consistently. |
| USDA Zone Adjustments |
|
Cooler zones need earlier starts; warmer zones can plant later. |
For seed depth, I swear by the ½-inch rule—any deeper, and you risk seed rot or delayed germination, especially in heavy clay soils. Use your finger or a small ruler to mark the depth before dropping seeds into the furrow.
If your soil is sandy, you can plant slightly shallower (¼ inch) since it dries out faster, but never less than ⅛ inch or the seeds may bake in the sun.
When it comes to row spacing, I recommend 18–24 inches between rows to give safflowers room to spread their taproots without competing for nutrients. In smaller gardens or containers, you can reduce this to 12 inches, but be prepared for slightly smaller yields.
Pro tip: Use a stake or string line to mark rows—safflower seedlings are tiny and easy to miss when thinning!
Spacing individual plants at 12–18 inches apart is crucial for preventing powdery mildew and ensuring each plant gets enough sunlight. In my Zone 8 garden, I’ve found that 15-inch spacing strikes the perfect balance between yield and airflow.
For oil varieties, like ‘Golden’, I lean toward the wider end (18 inches) to maximize seed production, while ornamental types can handle closer spacing (12 inches) for a fuller display.
Soil temperature plays a huge role in germination success. Safflower seeds won’t sprout until the soil reaches 60°F (15°C), but they germinate fastest at 70°F (21°C).
In USDA Zones 5–6, I’ve had the best luck starting seeds indoors 4–6 weeks before the last frost and transplanting after soil temperatures stabilize. For Zones 7–10, direct sowing works beautifully as soon as the soil is workable in spring.
One common mistake I see is overcrowding seedlings during thinning. Safflowers are competitive—if you let them get too close, the weaker plants will yellow and die, leaving gaps in your harvest. Always thin to your target spacing (12–18 inches) once seedlings have 2–3 true leaves.
Snip them at the base with scissors for a clean cut, and use the thinnings as microgreens for your kitchen!
Finally, consider your local microclimate. Safflowers love full sun, but in hotter regions like Zone 10, afternoon shade can prevent bolting too early. If you’re
Step-by-Step safflower planting process with pro tips
Planting safflower 🌼 seeds is simpler than you might think, but the devil’s in the details—especially when it comes to soil prep and seed placement. I’ve found that skipping these steps often leads to uneven germination or leggy seedlings.
Start by choosing a sunny spot with at least 6-8 hours of direct sunlight daily, as safflower thrives in full sun. If your soil drains poorly, amend it with compost or sand to prevent waterlogging, which can rot seeds before they sprout.
Before you even think about seeds, test your soil’s pH. Safflower prefers a slightly alkaline to neutral range of 6.0-7.5. If your soil is too acidic, sprinkle lime a few weeks before planting and mix it into the top 6 inches.
This small prep step can make the difference between weak seedlings and robust plants ready to take off in spring.
Step-by-Step Safflower Planting Guide
- 🌱 Step 1: Prepare the Soil
Loosen soil to a depth of 12 inches using a garden fork. Remove weeds and rocks, then mix in 2-3 inches of compost for nutrients. - 💧 Step 2: Water the Soil
Thoroughly water the area 1-2 days before planting to ensure the soil is evenly moist but not soggy. - 🌾 Step 3: Plant the Seeds
Sow seeds ½ inch deep in rows spaced 18-24 inches apart. For individual plants, space seeds 12-18 inches apart. - 🌿 Step 4: Cover and Water
Gently cover seeds with soil and water lightly to settle them. Avoid heavy watering to prevent seed displacement. - ☀️ Step 5: Maintain Moisture
Keep the soil consistently moist (not waterlogged) until germination, which typically occurs in 7-14 days. - ✂️ Step 6: Thin Seedlings
Once seedlings are 2-3 inches tall, thin them to your desired spacing (12-18 inches apart) to avoid overcrowding.
One of the biggest mistakes I see is planting safflower seeds too shallow or too deep. If you bury them less than ¼ inch, they’ll dry out before sprouting. On the flip side, planting them deeper than ¾ inch can delay germination for weeks.
Stick to that ½-inch depth for consistent results. Also, avoid overwatering after planting—just keep the soil lightly moist until you see those first green shoots.
After germination, focus on consistent watering without drowning the roots. Safflower is drought-tolerant once established, but seedlings need steady moisture to develop strong roots. Water deeply in the morning to reduce fungal risks, and mulch around the base with straw or shredded leaves to retain moisture and suppress weeds.
This simple habit saves me hours of weeding later in the season.
Watch for common early-stage issues like damping off (a fungal disease causing seedlings to collapse) or poor germination due to cold soil. If your area experiences late frosts, consider using a row cover to protect young plants until temperatures stay consistently above 50°F.
With the right care, your safflower seedlings will grow into tall, sturdy plants ready for summer blooms.
Once your safflower is established, resist the urge to fertilize heavily—too much nitrogen can reduce flower production. A light feeding with a balanced 5-10-10 fertilizer every 4-6 weeks during the growing season is plenty.
By following these steps, you’ll avoid the most common pitfalls and set your safflower up for a successful, low-stress growing season.