
How To
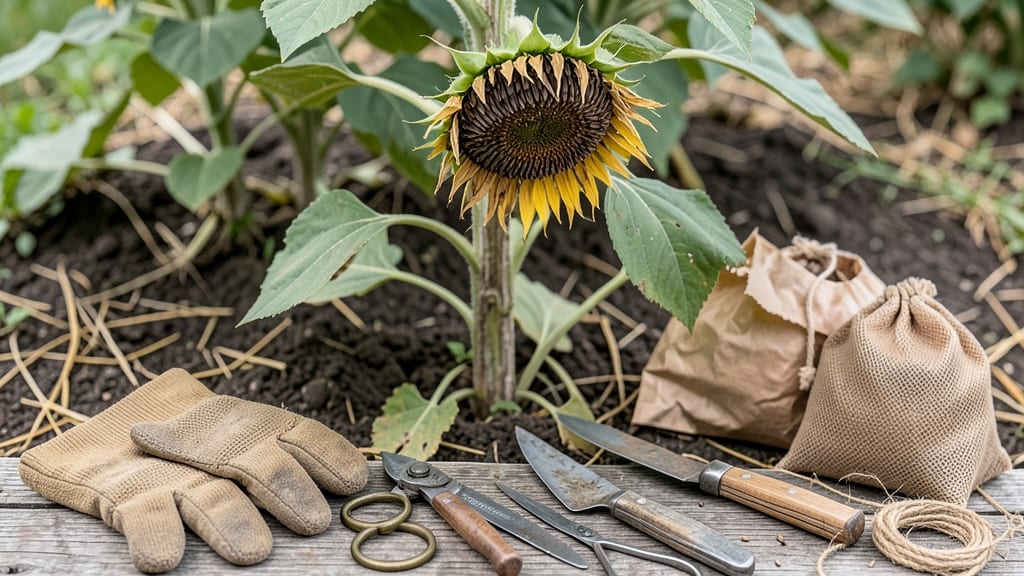
Harvesting sunflower seeds at the right moment can mean the difference between perfectly plump, nutritious seeds and bitter, wasted effort. If you've ever wondered when to harvest sunflower seeds, timing is everything—especially in USDA Zone 6a, where late summer frost can sneak up faster than you think.
The secret lies in watching for subtle changes, like the back-of-head browning or the moment petals drop completely—signs your 🌻 is ready. But getting it wrong means losing your harvest to pests or uneven ripeness.
Let me show you exactly what to look for, so you never miss the window again.
From the classic "shake test" to checking seed color, I’ll walk you through the foolproof methods that work every time. Whether you're a seasoned gardener or a first-timer, these tips will ensure your seeds are ripe, dry, and ready for storage.
Ready to turn your sunflower harvest into a pantry staple? Let’s dive into the easiest way to know when those seeds are finally ready to pick.


The back-of-head brown test: How to check sunflower seed ripeness
Sunflowers reach their peak when the back of the flower head transforms from green to a rich, matte brown. This classic back-of-head brown test is your golden ticket to harvesting seeds at their sweetest, most nutritious stage.
But here’s the catch: timing matters more than you think. A 5-day window separates perfect ripeness from missed opportunity.
Most sunflowers mature between 90-120 days after planting, typically landing in late summer to early fall (September-October in most U.S. zones). However, climate variations can shift this timeline by weeks.
For example, in Zone 5, first frost risks push harvests earlier, while Zone 9 gardeners might enjoy a longer window.
Step-by-Step: The Back-of-Head Brown Test
-
Step 1: Wait for petal drop
Watch as yellow petals wilt and fall naturally. This signals the plant is redirecting energy to seed development.
-
Step 2: Inspect the back
Flip the seed head upside down—the back should be dry and brown, not green or damp. A green tint means seeds need more time.
-
Step 3: Perform the "shake test"
Gently shake the head. If seeds rattle loudly, they’re ready. A soft thud means they’re still moist and immature.
-
Step 4: Check seed color
Split open a seed. It should be plump, white, and firm. If it’s shriveled or grayish, harvest was delayed.
-
Step 5: Harvest within 24 hours
Once ripe, seeds lose moisture quickly. Cut the head with 2-3 feet of stem and hang it in a dry, dark place to finish drying.
One of the biggest mistakes is harvesting based on flower color alone. A brown seed head doesn’t always mean ripe seeds—some varieties (like 'Autumn Beauty') develop brown centers while seeds remain underdeveloped. Always combine the back-of-head brown test with the shake test for accuracy.
Regional factors play a huge role. In humid climates (e.g., Florida), sunflowers may mold before ripening, so prioritize the shake test over color. Meanwhile, in arid zones (e.g., Arizona), seeds dry faster—watch for premature browning and harvest earlier.
Pro tip: Mark your calendar 90 days after planting as your harvest window. Set reminders to check daily during the last week, as seeds can go from perfect to overripe in 48 hours. Miss this window, and you risk bird predation or seeds scattering onto the soil.
If you’re growing multiple sunflower varieties, note their maturity timelines. Dwarf varieties (e.g., 'Teddy Bear') may ripen 2-3 weeks earlier than giants like 'Russian Giant'. Always harvest dwarfs first to avoid crowding and ensure each gets full sunlight.
After harvesting, don’t rush to shell seeds immediately. Let them dry on the stem for 1-2 weeks in a well-ventilated area. This prevents mold growth and ensures maximum storage life. Store dried seeds in airtight containers in a cool, dark place for up to 6 months.
Remember: patience pays off. The back-of-head brown test is your fail-safe method, but pairing it with the shake and seed-color checks guarantees a bountiful, flavorful harvest every time. Happy harvesting! 🌾
Alternative methods to determine perfect sunflower seed harvest time
While the back-of-head brown test is my go-to method, I’ve found that combining it with other techniques ensures I never miss the perfect harvest window.
For example, checking the seed moisture content or listening for that telltale rattling sound inside the seed head can confirm ripeness when visual cues are unclear. These methods work especially well in USDA Zone 6a, where weather changes can be unpredictable.
Another reliable trick is monitoring the flower head changes. When petals drop completely and the seed head turns a uniform brown color, it’s a clear sign the seeds are ready. I’ve even used a simple moisture meter to double-check—seeds should read below 10% moisture for optimal storage.
These complementary methods help me avoid common mistakes like harvesting too early or missing the window entirely.
| Method | How to Test | Best For | Reliability |
|---|---|---|---|
| Back-of-Head Brown Test | Tap seed head—brown seeds should appear | Quick visual check | ⭐⭐⭐⭐☆ |
| Seed Moisture Content | Use moisture meter (<10%) or squeeze test | Storage readiness | ⭐⭐⭐⭐☆ |
| Seed Rattling | Shake head—seeds should rattle loudly | Dryness confirmation | ⭐⭐⭐⭐☆ |
| Petal Drop & Browning | Petals fall, seed head turns fully brown | Visual maturity | ⭐⭐⭐⭐☆ |
For the seed rattling method, I simply shake the flower head—if the seeds inside sound hollow and rattle like a maraca, they’re ready. This works best in the morning when dew isn’t affecting the sound.
I’ve also noticed that dwarf varieties often ripen faster than tall ones, so I keep a closer eye on them. If you’re unsure, combine two methods for extra confidence.
One year, I relied solely on the browning petals and ended up with seeds that were still slightly green inside. Since then, I’ve made it a habit to cross-check with the moisture test—just squeeze a few seeds between your fingers.
If they feel dry and crumbly, they’re ready. If they’re still pliable, wait a few more days. This simple step has saved me from wasting an entire harvest.
Don’t forget to account for your local climate. In Zone 6a, early frosts can sneak up in September, so I prioritize the moisture test over visual cues when temperatures drop.
If you’re in a warmer zone, you might have more flexibility. Regardless, always harvest on a dry day to prevent mold during drying.
By mastering these alternative methods, you’ll never second-guess your sunflower harvest again. Whether you’re growing giant varieties or compact types, these tricks ensure your seeds are perfectly ripe—ready for storage or sharing with fellow gardeners. Happy harvesting! 🌾