
How To
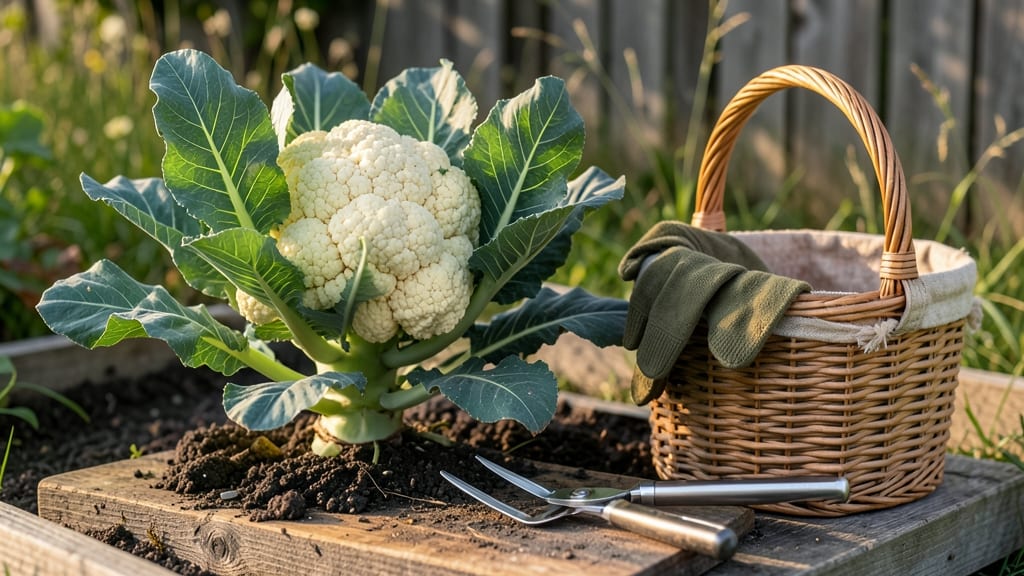
Harvesting cauliflower at the perfect moment means the difference between a creamy, restaurant-worthy curd and a tough, bitter disappointment. If you've ever sliced into a head that was either rock-hard or stringy, you know how frustrating it can be to miss that narrow window of perfection.
Timing is everything with 🥬 cauliflower, and the good news is that nature gives you clear signals when it's ready. By learning to read these visual and tactile cues—like head firmness, leaf color changes, and size—you'll never second-guess your harvest again.
I'll walk you through exactly what to look for in your Zone 6a garden.
Once you spot those telltale signs, the actual harvesting process is easier than you might think. A few simple steps will ensure you get the most out of your plants while keeping them productive.
Plus, I'll share my best tips for handling and storing your harvest so those beautiful curds stay fresh for as long as possible.
Whether you're a first-time grower or a seasoned gardener looking to maximize your yield, this guide will help you avoid common mistakes like overripe heads or premature cutting. Let's make sure every cauliflower you harvest is as perfect as it can be!


When to harvest cauliflower: signs of perfect ripeness for creamy curds
Harvesting cauliflower at the right moment means the difference between a tender, creamy curd and a tough, bitter mess. Most varieties take 75-120 days to mature, but visual cues—not just days—determine true ripeness.
The key is catching that sweet spot where the head is fully formed but hasn’t started to break down.
Start by checking the head size, which should be 6-8 inches wide for most varieties. Smaller heads may still be developing, while larger ones risk becoming woody.
Next, observe the outer leaves: they’ll begin to yellow and wilt naturally as the head matures. If the leaves stay vibrant green, your cauliflower needs more time.
Here’s a quick reference to help you spot the perfect harvest window:
One of the biggest mistakes gardeners make is harvesting too late. Overripe cauliflower turns yellow or brown and develops a bitter, woody texture. If you notice the head starting to split or flower, it’s already past its prime.
Even worse, the curds will become dry and inedible—a heartbreaking waste of your hard work.
For purple or orange varieties, the color deepens as they mature, but the same rules apply. Gently squeeze the head—it should feel solid and dense, not hollow.
If you press lightly and see no give, it’s ready. Pro tip: Harvest on a cool morning when the curds are at their crispest.
Don’t ignore the weather conditions either. If a heatwave is coming, harvest early to avoid stressing the plant. Cauliflower thrives in cool temperatures (60-75°F), so extreme heat can force premature ripening or cause the head to bolt (send up a flower stalk).
If your plant starts to send up a tall stem, it’s too late—harvest any small side curds you can find.
For continuous harvests, some varieties like ‘Snowball Y Improved’ produce multiple side shoots after the main head is cut. These smaller curds follow the same ripeness cues but may mature faster.
Keep an eye on them and harvest as soon as they reach 3-4 inches in diameter for the best flavor.
If you’re unsure whether your cauliflower is ready, cut one head as a test. Taste a small piece—if it’s sweet and tender, you’re on track. If it’s still bland or crunchy, give it another week. Remember, patience pays off with creamy, restaurant-quality curds.
Finally, avoid the temptation to harvest too early just because the head looks big. An underripe cauliflower will be loose and watery, lacking the tight, velvety texture we all love. The perfect harvest balances size, color, and firmness—so take your time and enjoy the process!
Step-by-step cauliflower harvesting process for maximum yield
Once you’ve spotted that perfectly formed cauliflower head, the next step is harvesting it with care to preserve its texture and flavor. The right tools and technique make all the difference between a crisp, creamy curd and one that’s already on its way to becoming tough.
I’ve learned through trial and error that a sharp knife and gentle hands are your best friends here.
Before you begin, gather your harvesting tools: a clean, sharp knife or pruning shears, a bucket of cool water, and a small pair of scissors for trimming any remaining leaves. Work on a dry day when the heads are firm—this ensures cleaner cuts and less stress on the plant.
I always harvest in the morning when temperatures are cooler, which helps keep the cauliflower fresher longer.
After harvesting, don’t toss the plant just yet! If your cauliflower variety is the self-branching type, you might get secondary heads forming on the sides. Simply trim off the main head and continue caring for the plant—watering and fertilizing lightly can encourage new growth.
I’ve seen my plants produce 2-3 smaller heads after the first harvest, which is a great bonus!
If you’re dealing with overripe cauliflower, don’t panic. While the head may become tough or bitter, you can still use it in cooked dishes like soups or stir-fries.
The key is to harvest at the right time—when the head is firm, tight, and the outer leaves start to yellow. This ensures you get that creamy texture we all love.
One common mistake I’ve seen is harvesting too late, which leads to woody or discolored heads. Always check the head’s firmness by gently squeezing it—it should feel solid, not spongy. With these steps, you’ll be harvesting perfect cauliflower like a pro every time! 🥬