
How To
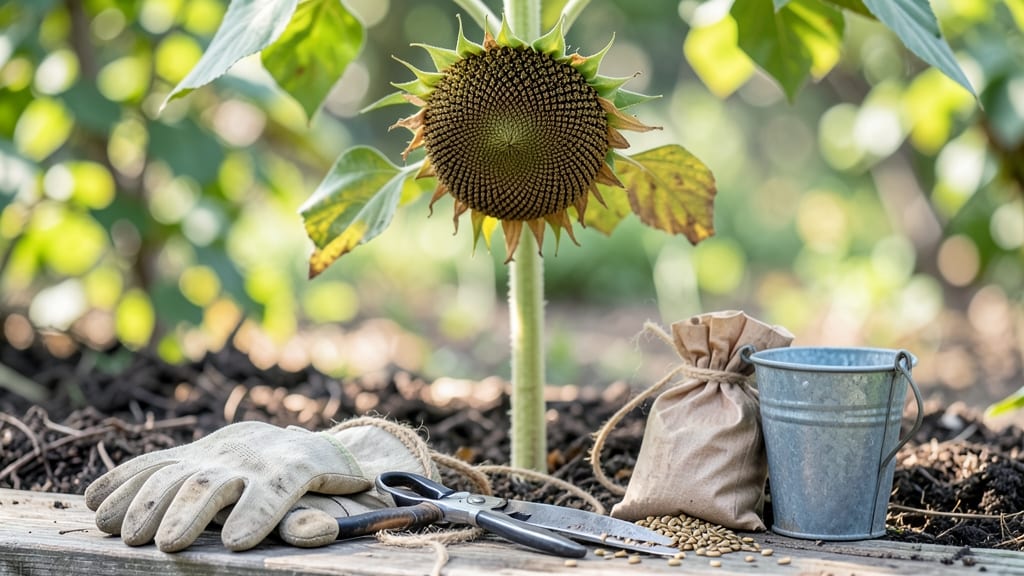
Knowing when to pick sunflower seeds at the right moment can mean the difference between a bountiful harvest and a wasted crop—or bitter, unusable seeds. Timing your harvest wrong could ruin your entire yield, as frost or birds might get to them first.
The difference between a perfect harvest and a disappointing one often comes down to recognizing exactly when your 🌻 sunflower seeds are at their peak—when the back of the head turns a rich, papery brown and the seeds rattle like maracas when you shake the stalk.
Miss this window, and you’ll either have underripe seeds that won’t store well or overripe ones that crumble into dust.
In USDA Zone 6a, where frost can sneak in as early as October, acting fast is key.
I’ll walk you through the visual cues, environmental factors, and simple storage tricks to ensure you harvest seeds at their absolute best—so you can enjoy them in baking, bird feeders, or even roasted snacks all winter long.
Ready to turn your sunflower patch into a seed goldmine? Let’s break down the exact signs to watch for and how to handle them like a pro—no guesswork involved.


How to identify sunflower seed ripeness by appearance and touch
Harvesting sunflower seeds at the right time ensures maximum flavor and crunch. The key lies in observing visual and tactile changes in the seed head and plant stem.
When you miss these cues, you risk collecting seeds that are either too soft or too bitter. Let's break down the exact signs to watch for.
Start by examining the back of the seed head—this is the most reliable indicator. When the yellow-brown color appears here, it signals the seeds are nearing maturity. This change happens gradually, so check your sunflowers every 3-5 days during peak harvest season (late summer to early fall).
The petals also provide clues. When they begin to wilt and fall off naturally, it’s a clear sign the seeds are maturing. However, don’t wait until all petals are gone—harvest when about 70-80% have dropped. This ensures the seeds inside are fully developed but haven’t yet dried out completely.
Now, let’s talk about the seed head texture. Gently shake the head—if you hear a dry, papery rattle, the seeds are ready. This sound comes from the seeds inside moving freely, indicating they’ve reached full ripeness.
If the head feels soft or spongy, the seeds need more time.
Here’s a quick reference to help you spot the perfect ripeness:
| Stage | Seed Head Color | Petals | Seed Texture | Action |
|---|---|---|---|---|
| Early Ripening | Green | Fully attached | Soft, immature | Wait 1-2 weeks |
| Ideal Ripeness | Yellow-brown back | 70-80% fallen | Firm, dry rattle | Harvest now |
| Overripe | Fully brown | All fallen | Brittle, seeds scatter | Harvest immediately |
Don’t overlook the plant stem—it’s another indicator of ripeness. When the stem near the seed head turns dry and brownish, it’s a sign the plant is redirecting energy to seed maturation. This change often happens 1-2 weeks before the seeds are fully ready, so keep an eye out.
For a final check, test a few seeds. Squeeze one gently between your fingers—if it’s hard and dark, it’s ready. If it’s still light-colored or mushy, give the sunflower more time. This tactile test is the most foolproof way to confirm ripeness.
Timing is everything when harvesting sunflower seeds. If you wait too long, the seeds may scatter or shatter from the head, making collection difficult. Conversely, picking too early results in underdeveloped, bitter seeds. By mastering these visual and tactile cues, you’ll consistently harvest seeds at their peak.
Pro tip: Harvest on a dry, sunny morning to ensure the seed heads are fully dry. This reduces the risk of mold during storage and preserves the seeds’ flavor and texture for months to come. 🌻
Step-by-step guide to harvesting sunflower seeds without losing them
Once your sunflowers reach their ideal ripeness stage, the next challenge is harvesting the seeds safely before birds or weather ruin your hard work. The key is timing your harvest just right—too early means immature seeds, while waiting too long risks losing them entirely.
With the right tools and techniques, you can preserve those nutrient-rich seeds for planting or snacking.
Start by gathering your essential tools: sharp pruners or shears, a bucket or paper bags, and a dry, well-ventilated space for drying. Avoid using scissors—they can crush the delicate seed heads.
If you’re harvesting multiple sunflowers, wear gloves to protect your hands from the sharp seed head edges. The goal is to minimize seed loss while ensuring maximum yield and quality.
🌻 Step-by-Step Harvesting Process
-
Step 1: Cut the Seed Head
Use clean pruners to cut the seed head about 2-3 inches from the base. Leave the stem attached to make handling easier. Avoid pulling or twisting, which can damage the head and cause seeds to fall out prematurely. -
Step 2: Remove Excess Debris
Shake the seed head gently over a bucket or paper bag to remove loose seeds and debris. This prevents contamination during drying. If seeds are still loose inside the head, place the head in a paper bag and hang it upside down. -
Step 3: Choose Drying Method
Indoor drying: Hang heads upside down in a dry, dark place with good airflow (e.g., a garage or closet). This takes 1-2 weeks depending on humidity. Outdoor drying: Place heads on a mesh screen or wire rack under a covered porch to protect from rain and pests. -
Step 4: Test for Dryness
Seeds are ready when they rattle loudly when shaken and the seed head feels lightweight. If seeds are still damp, continue drying for another 3-5 days. Overly dry seeds may crack, but slightly damp seeds will mold. -
Step 5: Shell the Seeds
Rub the dried seed head between your hands or use a clean cloth to remove seeds. For stubborn seeds, gently thresh by hand or use a seed thresher tool. Discard any remaining debris or damaged seeds. -
Step 6: Store Properly
Store seeds in an airtight container (glass jars or Mylar bags with oxygen absorbers work best). Keep them in a cool, dark place (like a pantry) where they’ll stay viable for 1-2 years. Label containers with the harvest date for tracking.
To prevent seed loss, act quickly if birds or squirrels become a problem. Cover seed heads with bird netting once they’re mostly dry but still on the plant.
If you’re in a high-humidity area, prioritize indoor drying to avoid mold. Always harvest on a dry day to prevent moisture from accelerating spoilage.
Pro tip: If you’re saving seeds for next year’s garden, allow them to dry completely before storing. Moisture is the enemy of seed viability, so never rush the drying process.
With these steps, you’ll enjoy a bountiful harvest of sunflower seeds ready for planting, snacking, or sharing with friends. 🌻